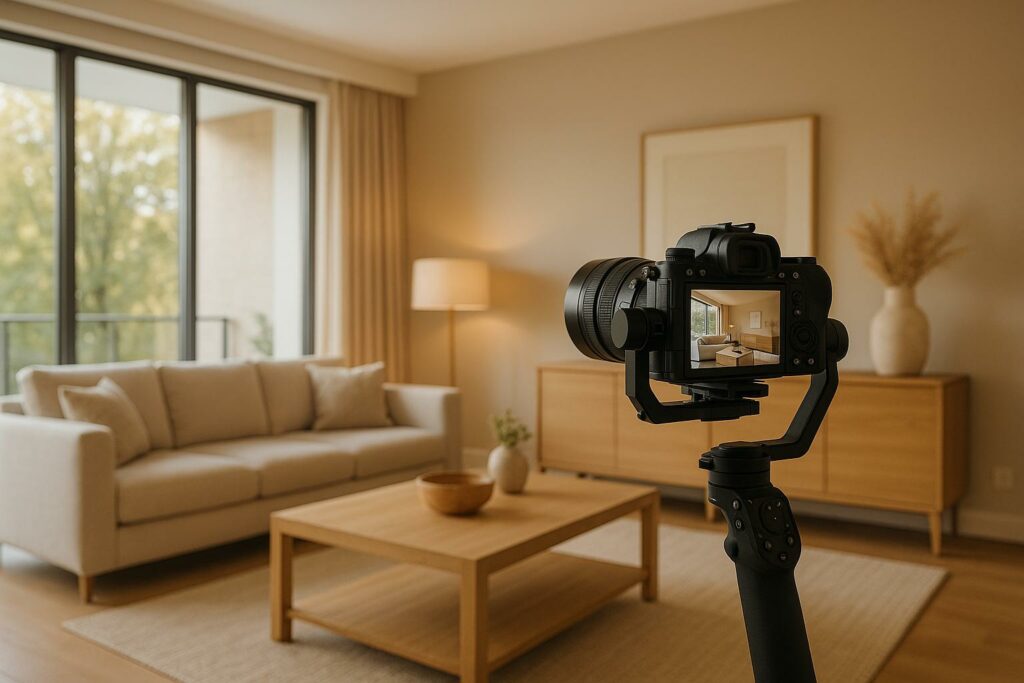
Real estate professionals know that a great video can set a property apart in a competitive market. In an age where prospective buyers and renters often form their first impressions online, high-quality visual content is a must. One of the most powerful tools to elevate your property listings is a professionally shot video – and a gimbal is your secret weapon for smooth, cinematic footage.
This guide dives into essential techniques for real estate videography using a professional camera and a gimbal. Based on expert advice, we’ll walk through practical tips to capture visually stunning property tours that showcase homes in their best light. Whether you’re a seasoned videographer or a real estate agent wanting to enhance your services, this article is for you.
Why Gimbal Techniques Matter in Real Estate Videography
A gimbal stabilizer ensures smooth and steady camera motion, even during complex movements. In real estate, this tool is crucial to achieving professional-grade videos that highlight a property’s layout, features, and aesthetic appeal. But simply owning a gimbal isn’t enough – you need to master its techniques to make your footage stand out.
With the right approach, you can create immersive tours that not only engage viewers but also help them visualize living in the space. Let’s explore the practical tips and movements you can incorporate into your real estate videos.
Essential Camera and Gimbal Techniques for Property Videos
1. Master Exposure Settings
- Ensure your footage is well-lit without overexposing or underexposing critical details. Adjust the aperture (f-stop) and ISO levels based on the lighting conditions. For instance, you might use an f22 aperture and ISO 4000 to balance indoor and outdoor brightness.
- Use tools like your camera’s histogram to monitor exposure levels and avoid blown-out highlights.
- Avoid auto-exposure when moving between rooms or spaces; this can create inconsistent lighting and make editing more challenging.
2. Smooth Panning Movements (Left to Right or Right to Left)
- Panning is a simple yet effective way to show the flow of a space. Use a "left-to-right" or "right-to-left" movement depending on your preference. These movements are interchangeable during editing, giving you flexibility.
- For added stability, hold the gimbal using both hands or leverage grips that reduce shaking.
3. Push-In and Pull-Out Shots
- These movements create a dynamic sense of depth, drawing viewers into key areas of a property. To execute:
- Perform a "ninja walk" (keep knees bent and movements smooth) while pushing the camera forward or pulling it back.
- Pair the movement with a slight tilt of the gimbal to emphasize specific details, like a large window or an attractive feature wall.
4. Orbits and Slides for Dynamic Angles
- Orbit shots involve moving the gimbal in a circular motion around a focal point, such as a fireplace or a kitchen island.
- Slider shots mimic the effect of a camera dolly and are perfect for emphasizing symmetry and architectural lines. To achieve this, plant your feet wide and shift your body weight smoothly from side to side.
5. Use Vertical Movements for Added Impact
- Vertical shots add dimension to your videos. For example, start with the gimbal low to the ground, then tilt upward to reveal high ceilings or architectural details like exposed beams.
- Switch to "pan tilt follow" (PTF) mode on your gimbal for seamless vertical movements without relying on manual joystick controls.
6. Capture Wide, Medium, and Detail Shots
- For each room, aim to get:
- Wide Shots: Showcase the layout and flow of the space.
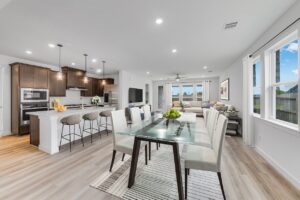
- Medium Shots: Focus on key areas, such as a dining table or kitchen counter.
- Detail Shots: Zoom in on features like cabinetry textures, light fixtures, or staged décor.
- This variety ensures editors have the footage needed to create cohesive and engaging videos.
7. Plan for Reverse Angles
- Always capture reverse angles of important shots. For example, if you film an entryway push-in, follow it up with a push-out. Reverse angles provide editors with flexibility to cut seamlessly between perspectives.
8. Highlight Key Features Strategically
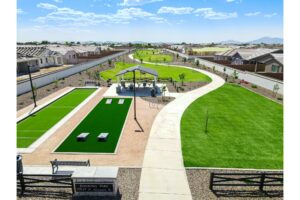
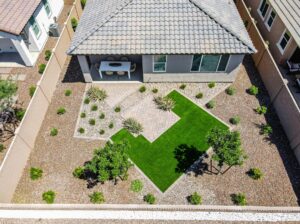
- Prioritize architectural or design highlights, such as a mountain view from the deck, a stunning fireplace, or a spa-like bathroom.
- Use cinematic movements like an orbit or a slow pan to draw attention to these features without overwhelming the viewer.
9. Consider the Narrative Flow
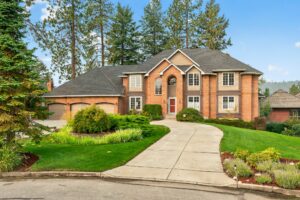
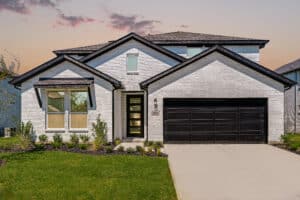
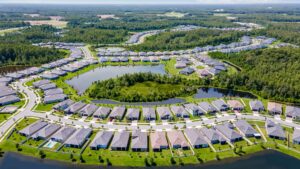
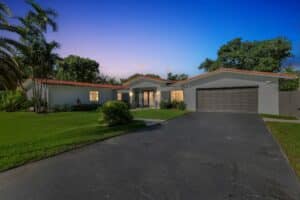
- Structure your video to mimic how a person would naturally tour the home. Start with the exterior, move through common areas, and end with private spaces like bedrooms and bathrooms.
- When transitioning between spaces, use long, uninterrupted takes to give editors options for creative speed ramping or transitions.
Practical Tips for Real Estate Videography
- Use the Rule of Three: For every space, get at least three types of shots (wide, medium, detail) to create a well-rounded visual story.
- Leverage Staged Décor: Highlight well-staged areas to enhance the home’s appeal. However, skip over outdated or unappealing spaces unless they serve the narrative.
- Think Like an Editor: If you edit your own videos, visualize how each shot will fit into the final sequence. If you work with editors, capture a variety of angles and movements to give them flexibility.
Key Takeaways
- Prioritize a Variety of Shots: Capture wide, medium, and close-up details for each room to provide editors with ample creative options.
- Master Smooth Movements: Utilize panning, sliding, and orbiting techniques to create dynamic and professional-grade footage.
- Keep Lighting Consistent: Use manual exposure settings to balance brightness across different areas of the property.
- Make Reverse Angles a Habit: Always film a reverse shot for better editing flexibility.
- Focus on Key Features: Highlight standout elements like views, fireplaces, or architectural details with intentional camera movements.
- Adopt the Ninja Walk: Bend your knees and move smoothly to eliminate camera shake during walking shots.
- Use PTF Mode for Vertical Moves: This setting provides natural tilt-follow motions for revealing high ceilings or other vertical elements.
- Prioritize the Viewer’s Journey: Structure the video in a logical sequence, simulating how one would explore the property in person.
Conclusion
Creating high-quality real estate videos requires more than just pointing a camera at a space. It’s an art that combines technical skill, creativity, and an understanding of how viewers engage with visual content. By mastering these gimbal techniques, real estate professionals can produce property tours that captivate potential buyers and renters, making their listings truly stand out.
With consistent practice and intentional planning, your videos can elevate your brand and set new standards for property marketing. Start incorporating these strategies today, and turn every listing into a visual masterpiece.
Source: "Real Estate Photography Made Simple | Pro Tips & Camera Settings You Need to Know" – im3rd Media, YouTube, Aug 19, 2025 – https://www.youtube.com/watch?v=H1v4bHlDHxQ
Use: Embedded for reference. Brief quotes used for commentary/review.