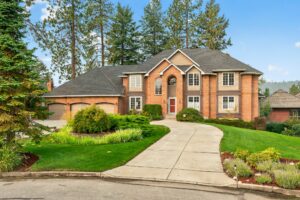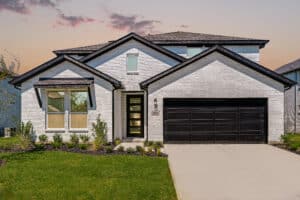
High-quality real estate photos make properties stand out online and attract more buyers. Here’s what you need to know:
- Better Photos = Faster Sales: Great images lead to more buyer engagement, in-person showings, and quicker sales.
- Checklist Benefits:
- Maintain consistent photo quality.
- Save time by following a structured review process.
- Spot and fix issues early to avoid delays.
- Present properties in the best light for maximum appeal.
Key Review Areas:
- Photo Quality:
- High resolution and proper lighting.
- Accurate color balance and exposure.
- Composition:
- Highlight important features and room dimensions.
- Use angles that give buyers a clear sense of layout.
- Property Preparation:
- Clean and declutter spaces.
- Remove personal items for a neutral, inviting look.
- Final Review:
- Eliminate distractions (e.g., cords, reflections).
- Ensure photos accurately represent the property.
- Organize and label files for easy access.
Professional services like HomeJab can simplify this process with fast delivery and expert editing, ensuring your listings stand out.
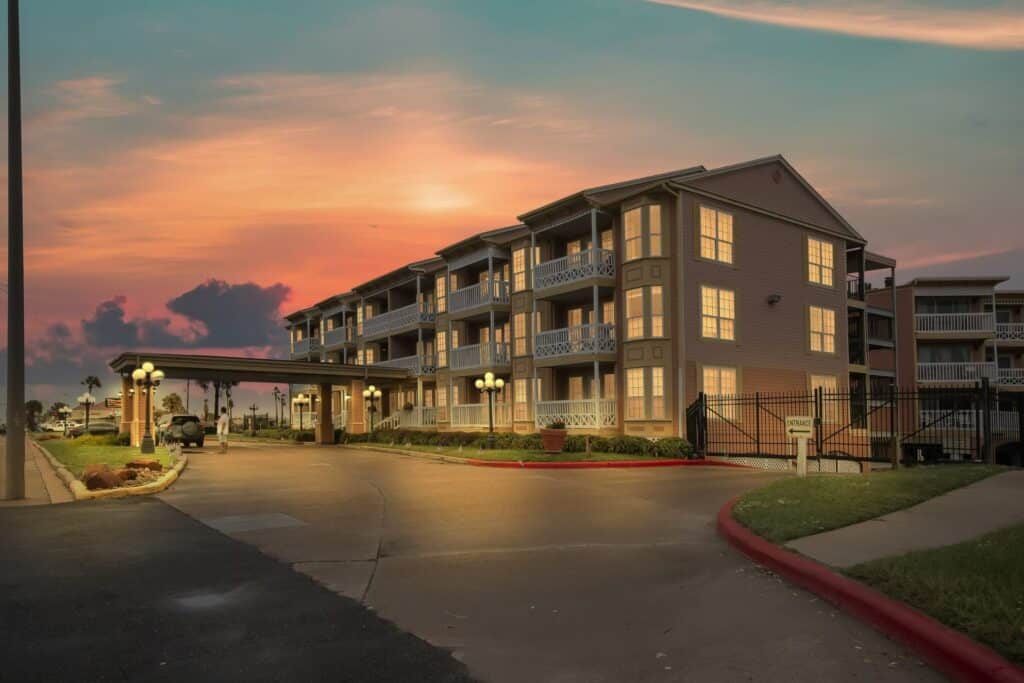
Home Checklist | Getting Ready for the Real Estate Photos
Photo Quality Standards
To make sure your real estate photos stand out, they need to meet professional quality standards. Here’s what to focus on before publishing:
Image Size Requirements
Real Estate Photos should be high resolution with large enough dimensions to look sharp on any device or platform. Save them in a web-friendly JPEG format to balance quick loading times with clear, crisp quality. Also, check that the lighting in your images enhances clarity and captures details effectively.
Light and Exposure Checks
Lighting plays a huge role in how a property is perceived. Pay attention to these points:
- Use natural light, like sunlight through windows, to illuminate interiors without overexposing.
- Watch out for heavy shadows that could hide key features.
- Make sure lighting is consistent, avoiding dark corners in rooms.
- Bright areas should retain texture and detail instead of appearing washed out.
Color Balance Review
Accurate colors help potential buyers get a true sense of the property. Here’s what to check:
- Adjust the white balance to ensure walls and ceilings appear neutral.
- Highlight natural tones in wood floors and cabinets.
- Avoid mixed lighting that can create unnatural color tints.`
- Verify that external features like brick or siding look true to life.
HomeJab photographers use professional gear and techniques to ensure these standards are met, delivering real estate photos that exceed expectations.
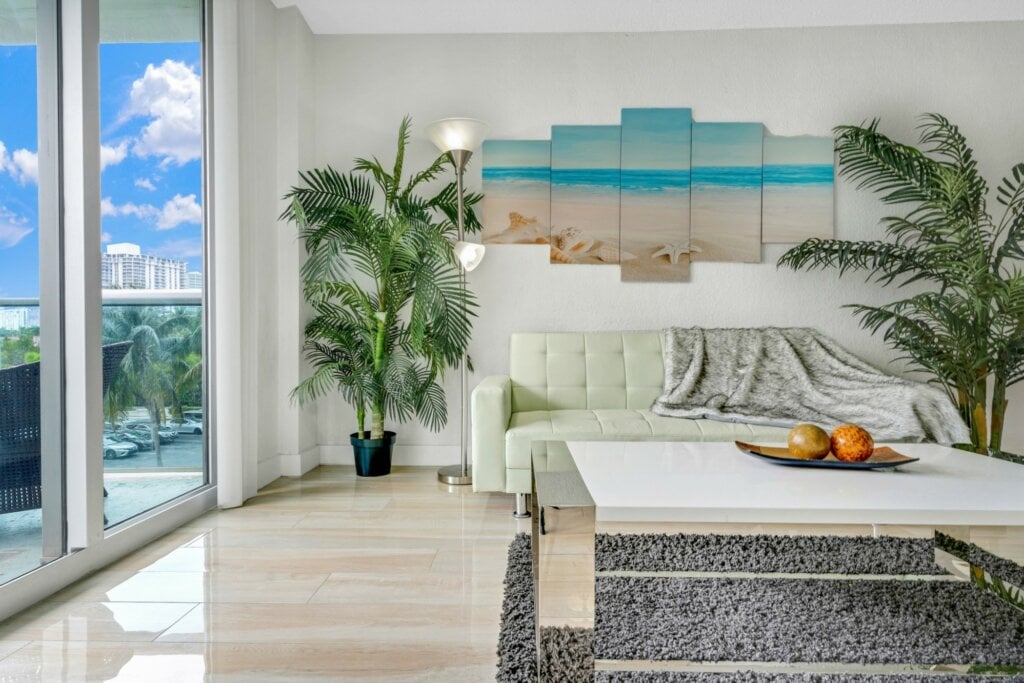
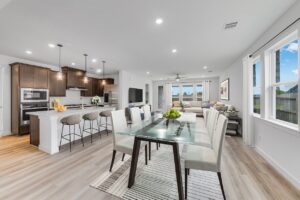
Photo Composition Guide
Good composition showcases a property’s best aspects while giving an accurate sense of its layout. These techniques align with our standards and help ensure properties are presented effectively.
Highlighting Property Features
When photographing, focus on angles that bring out the most important features. HomeJab photographers specialize in showcasing these details to give potential buyers a clear understanding of what the property offers.
Structuring the Frame
Arrange elements in the frame so that standout features are the main focus. Apply composition techniques that highlight these elements without taking away from the overall feel of the property.
Capturing Room Dimensions
Showing a room’s size and layout is key. Position the camera to emphasize the space and its context. For larger rooms, using multiple angles can help provide a fuller perspective.
sbb-itb-82c5f45
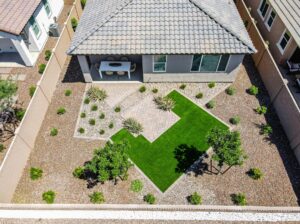
Property Preparation Steps
Getting a property ready for photography is key to creating standout real estate listings. By following these steps, you can highlight the best features of any space.
Clean and Clear Spaces
Make sure the property is spotless and free of clutter:
- Clear kitchen countertops of appliances and utensils.
- Remove toiletries and cleaning supplies from bathrooms.
- Hide remote controls and electronics.
- Clean windows and mirrors to remove any streaks.
- Vacuum carpets and sweep or mop hard floors.
- Dust surfaces, including ceiling fans and light fixtures.
A clean space not only looks better in photos but also feels more inviting.
Remove Personal Items
Neutralize the space by taking out personal belongings, such as:
- Family photos and personal artwork.
- Refrigerator magnets, notes, and other kitchen clutter.
- Children’s toys and pet-related items.
- Seasonal decorations.
- Mail, paperwork, and medication bottles.
- Religious items.
HomeJab photographers are skilled at spotting these details and ensuring the property is photo-ready. Proper preparation results in images that attract more buyers and boost interest in the listing.

Final Photo Review
Remove Distracting Elements
Carefully review each photo for anything that might pull attention away from the property. Common distractions include:
- Reflections in mirrors, windows, or other shiny surfaces
- Visible cords from lamps, electronics, or blinds
- Temporary or seasonal decor that could make the photos feel outdated
- Outdoor clutter like trash bins, vehicles, or utility equipment
HomeJab’s photographers are skilled at removing these distractions while keeping the space looking natural.
Verify Property Accuracy
Ensure every photo accurately reflects the property as it is today. Pay attention to:
- Room colors – do they match the actual paint and finishes?
- Window views – are they properly exposed and realistic?
- Fixtures and features – are they clearly and accurately shown?
- Room proportions – do they look true to life?
Organize Files Efficiently
Keep your property photos well-organized with a clear system:
- Use a consistent naming format: Include the property address, room name, and a sequence number (e.g.,
123MainSt_Kitchen_01,123MainSt_MasterBed_02). - Add metadata and sort by category: Tag photos with details like location, room type, and key features. Group them into folders such as exterior, living areas, bedrooms, bathrooms, and special features.
Once organized, it’s easier to pick the most compelling images for your listing.
Choosing the Best Photos
Focus on selecting photos that highlight the property’s strengths:
- Start strong: Use an eye-catching exterior shot or a standout interior image as the main listing photo.
- Keep it consistent: Ensure all photos have similar exposure and color balance.
- Follow a logical flow: Arrange images to create a natural walk-through experience.
- Show variety: Combine wide-angle shots of rooms with close-ups of unique features.
- Prioritize quality: Select only the most striking images – less is often more.
With HomeJab’s quick delivery and expert editing, this process becomes even smoother and more effective.
Conclusion
Key Takeaways
A strong photo review process can make property listings more appealing to buyers. The essentials include:
- Quality: Ensure images have the right size, exposure, color balance, and sharp focus.
- Composition: Use angles that showcase the property’s best features.
- Preparation: Declutter and stage spaces thoughtfully to create a polished look.
- Review: Eliminate distractions and organize photos systematically.
By following these steps, you can create listings that consistently attract attention. For even better results, consider working with professionals.
HomeJab Services Overview

Professional photography simplifies the review process. HomeJab provides real estate media with a quick 24-hour turnaround [1], including:
- HDR photography for both interiors and exteriors
- Aerial photography and drone videos
- 3D virtual tours
- Virtual staging services
- Floor plan creation
HomeJab boasts a 4.8-star rating based on 865 reviews [1]. Clients often highlight the quality of their work:
“The photos were crisp, professional, and beautifully lit – exceeding my expectations. Highly recommended!” – Liz Zeng [1]